Table of contents
Nowadays deploying sites becomes easier than ever. In the case of netlify, it is even easier than I thought. So let's get started on how to deploy a very basic react app in netlify.
So there are two ways that you can deploy react app in netlify as far as I figured (forgive me if you found another way, comment down the way I am also learning 😛)
- By Drag Drop
- By Source Control
Let's discuss two options step by step.
Drag Drop:
For this process, you need to generate the build for yourself. Run the build command.
yarn build / npm build
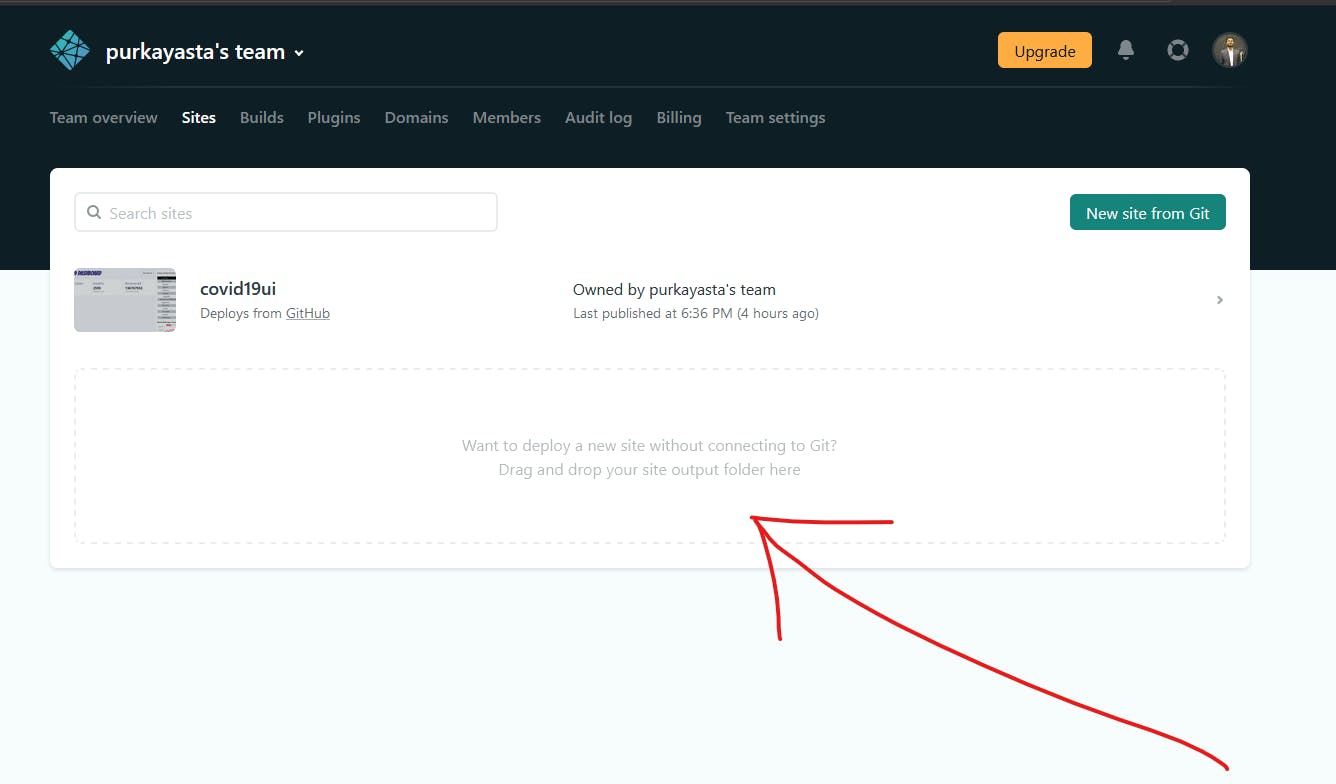
- Open the dashboard you will see some tabs, go to the Sites Tab.
- By opening the sites tab you will see there is a drag-drop area for your app.
- Drag the build folder that you just generated and that's it.
- Your site is live. It's like in under 20 seconds you deployed your site.

So What's the cons of this option and when you should use it. If you want to deploy a site quickly and use this option because if you changed your app you will have to re-do all the steps again for deployment. It will pain if you want to develop and deploy in a continuous matter that's why there is another option available.
Source Control:
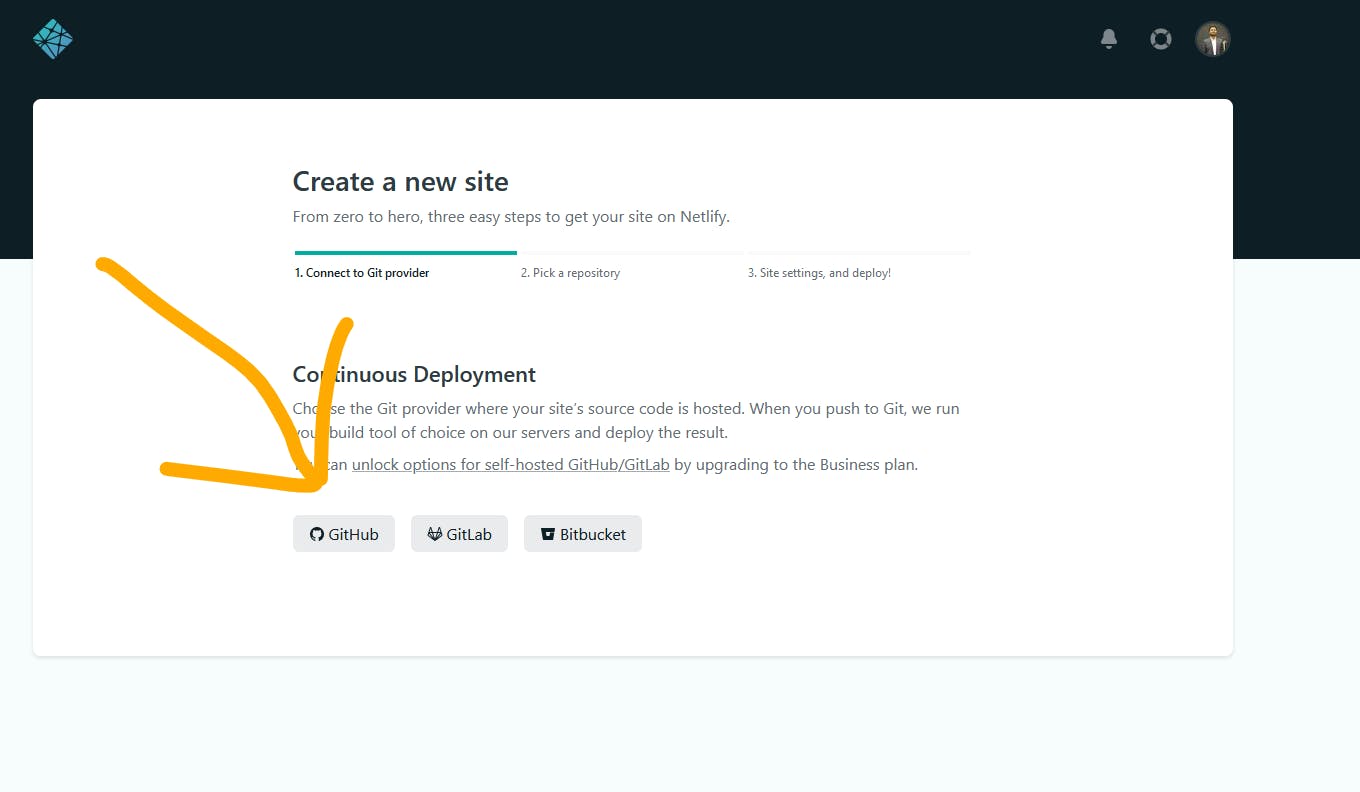
For this process, you just need to go to the sites tab and click sites from git.
- You will be present with a bunch of git providers.
- Let's just select Github for this example.
- You will authorize and select the repo you want to deploy and that's it. It will deploy by itself you don’t have to do anything.


Usecase:
If you want to deploy in a continuous matter, this is the option for you. Yes, it will take time for deployment because it will install and build it for itself. The main interesting point is that whenever you push a build it will do the automation for yourself.
